MINI ESCAPE ROOM
MINI ESCAPE ROOM
/* A “book nook” is a shadow box meant to fit into a bookshelf and depicts any scene from civilization to nature or fantasy. This project is a series of three interactive book nooks combined to create an escape room experience. The user acts as the fated hero meant to restore light and beauty to a cursed land. */
This project was a final project for the Yale College course Creative Embedded Systems (CPSC 334) taught by Professor Scott Petersen in the fall of 2O23. It was a collaborative assignment completed with fellow CPAR major Malia Kuo.

THE IDEA
A “book nook” is a shadow box meant to fit into a bookshelf and depicts any scene from civilization to nature or fantasy. Our project is a series of three interactive book nooks combined to create a miniature escape room experience. The user acts as a fated hero meant to restore light and beauty to a cursed land, instructed by a script written in riddles. In the first book nook, a portal, the user has to decode the riddle provided by a Processing program to open the door to the second book nook. In the next, a magical forest scene, the user must interact with the box in order to restore life to the land via touch sensors. Once all sensors are triggered, the final box will light up and a congratulatory message appears.

// Book Nooks prior to user interaction
// Book Nooks after successful user interaction
COMPONENTS + ENCLOSURE
Book Nook 1: The Portal
Materials: LED fairy lights, tissue paper, small circular mirror, Arduino ESP32, buttons, servo motor
Interactive puzzle: Using the clues from a riddle displayed on a computer, the user must press a pattern of green or blue buttons in the correct order. If pressed correctly, the servo motor will then be activated to open a door to the second box.
Book Nook 2: The Forest
LEDs (yellow for fairies, red for mushrooms, blue for underwater), 3 touch sensors, one servo motor, Shrinky Dink paper, illustration, Arduino ESP32
Interactive puzzle: Using clues from a riddle, the user must figure out that they need to find touch sensors hidden in the scene.
first touch the sensor in the lake by “making a wish with a coin” to activate the yellow fairy LEDs
then touch the sensor hidden in the rocks by “touching the metallic rock” to activate the red mushroom LEDs
finally, touch the sensor beneath the lake by “feeding the fish” to activate the blue lake LEDs and turn on a stepper motor that rotates the fish
once all three touch sensors are activated, the LEDs in the final box are turned on to reveal the contents of the third book nook - the user has completed the quest!
Book Nook 3: The Infinite Flower Fields
10mm green LEDs (mushroom), white LED (in clouds), Shrinky Dink paper, digital illustration, Arduino ESP32
Once the parameters in the second box are fulfilled, all the LEDs are turned on to reveal a two-way mirror illusion that makes the flower field scene inside appear to go on forever
// footage of all three book nooks after successful user interaction
THE CODE
The code for this hardware was done in Arduino IDE. We used two Arduino ESP32s total: the first was used for the riddle buttons + servo motor, and the second was used for all the touch sensors and LEDs in the second and third box. The interface where the user was shown the riddles and received feedback was programmed in Processing.
The hardware and software interfaced via serial ports, as we weren’t sure about the reliability of the wifi in the exhibition space. There was one-way communication, so the ESP32s sent data to Processing, but Processing never had to send data to the ESP32s. Most of the data parsing was done in Processing, where we took the basic information relayed from the ESP32s and displayed it to the user (eg. have they pressed the right button? if so, can they move on from stage 1 to stage 2 - thus displaying a different riddle?).
link to the github: https://github.com/maliakuo/book_nook/tree/main
CHALLENGES
Hardware: One issue that became clear when we were coming up with this exhibit was that we would have to be very conscious about which components we’d want in our scene, considering we only had two ESP32s to work with. Though we had hoped to maybe include stepper motors in the third and final box, we decided that ultimately, the richness of the second box was more critical and used the majority of our GPIO pins to fulfill that goal.
Touch Sensor Interaction: We realized it was difficult to get users to successfully find all three touch sensors in the second book nook with just their hands. We tried different conductive materials but settled on a coin as being the easiest and most reliable prop.
// demo of Book Nook 2: The Forest
CONCLUSIONS
Maggie:
I loved the amount of creative freedom we had over this project. To be able to sit in the CEID for hours coloring in some Shrinky Dinks and call it a productive day was just what I needed in that finals period. I’ve never worked on a project as both construction and electronic-involved as this one, so it was a good experience having to test both our programming/wiring knowledge as well as our design/construction skills.
The boxes looked very different before we decided to add a second layer of cardboard to the enclosures in order hide scary sights like this mess below:

It was an added challenge trying to incorporate all of the hardware into a naturey scene without all the wires and motors being visible. Our method of incorporating hardware first, then adding decorations, set us up for more success than had we decided to decorate first then add in hardware.
Another favorite part of the project is the second box and the motorized door covered in some ripped pages out of an old book (see Book Nook 2 video above).
Malia:
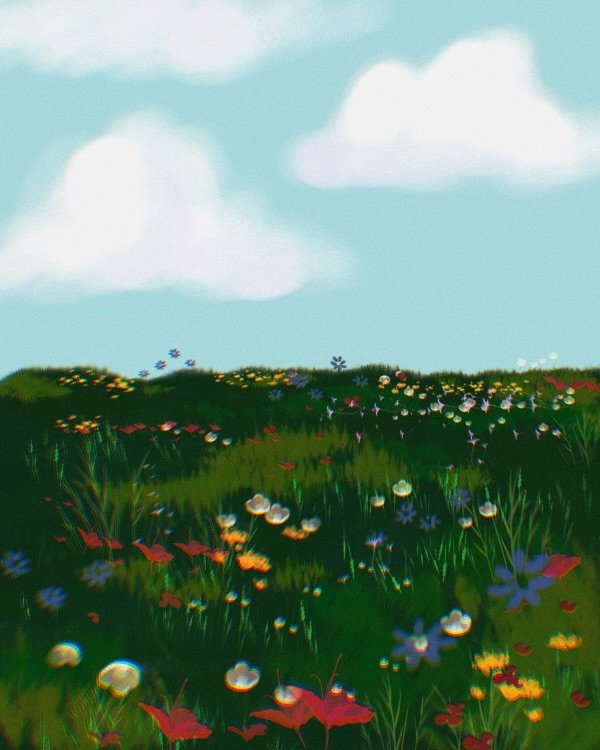
I had a great time working on this project. I think a lot of the initial difficulty came from the fact that we had a lot of ideas/interactions/pieces and at the beginning, figuring out how exactly all those pieces would fit together took a lot of effort. We used Miro to plan the components and interactions, then from there, sketched out our ideas of what we wanted it to look like visually. Creating the portals was very time intensive. Each portal was basically its own exhibit. They all involved many hours in the CEID, creating shrinky dinks, cutting cardboard, sanding wood, and using a lot of hot glue (which I am still finding pieces of in my hair). I also got to create some illustrations in Procreate for both the second and third box to put on the sides/back as decoration, which was really fun - shown here:

I will say one of the more frustrating parts of the project were the final touches. For instance, we had all of the hardware code working, but linking the interactions from the first box and second box with the Processing code took a lot of time. However, we really pulled through, and I’m very proud of how this work came out. Like any art project, it was humbling, exhilarating, annoying, tedious, puzzling, exciting, and ultimately, super satisfying. It was so awesome to have friends stop by to mess around with it, and everyone who came said that it was fun, super cute and impressive, which is all we could have hoped for at the end of the day.